Getting Started
Install PathPlannerLib
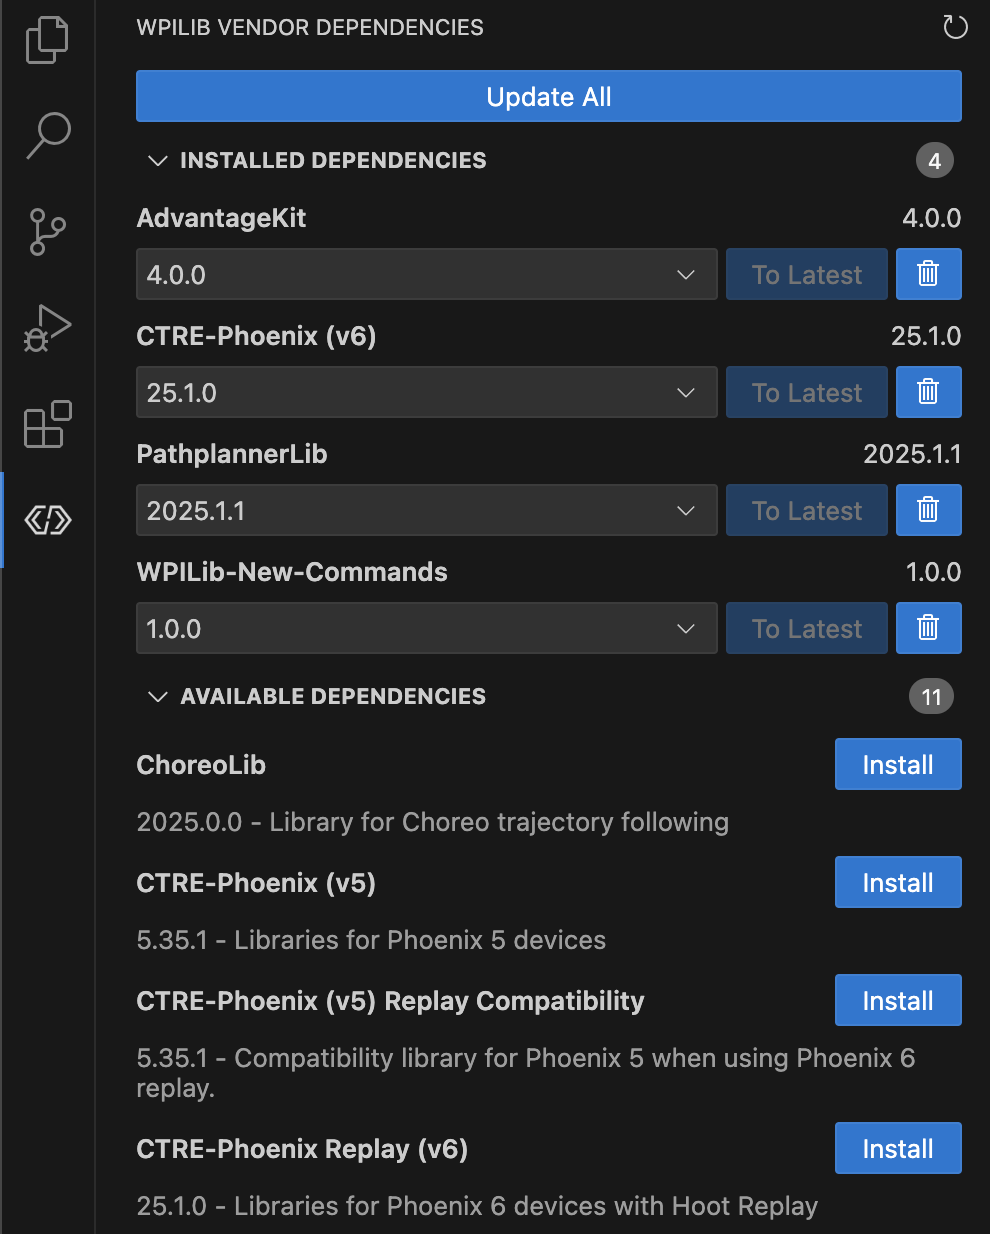
The easiest way to install PathPlannerLib is to find and install it via the WPILib Vendor Dependency Manager in VSCode.

Alternatively, PathPlannerLib can be added to your robot code project using the "Install New Libraries (online)" feature in VSCode using the following JSON file URL:
Legacy Versions
The following legacy PathPlannerLib json files can be used to install the last release from previous years for compatibility with old robot code projects.
2025:
2024:
2023:
2022:
The Python version is compatible with RobotPy and available to install from PyPI via the pip command
Beta Version
Configure AutoBuilder
In PathPlannerLib, AutoBuilder is used to create full autonomous routines based on auto files created in the GUI app. In order for AutoBuilder to be able to build these auto routines, it must first be configured to control your robot.
The following examples will assume that your drive subsystem has the following methods:
getPose- Returns the current robot pose as aPose2dresetPose- Resets the robot's odometry to the given posegetRobotRelativeSpeedsorgetCurrentSpeeds- Returns the current robot-relativeChassisSpeeds. This can be calculated using one of WPILib's drive kinematics classesdriveRobotRelativeordrive- Outputs commands to the robot's drive motors given robot-relativeChassisSpeeds. This can be converted to module states or wheel speeds using WPILib's drive kinematics classes.
Holonomic (Swerve)
LTV (Differential)
Load an Auto
After you have configured the AutoBuilder, creating an auto is as simple as constructing a PathPlannerAuto with the name of the auto you made in the GUI.
Create a SendableChooser with all autos in project
After configuring the AutoBuilder, you have the option to build a SendableChooser that is automatically populated with every auto in the project.
Create a SendableChooser with certain autos in project
You can use the buildAutoChooserWithOptionsModifier method to process the autos before they are shown on shuffle board